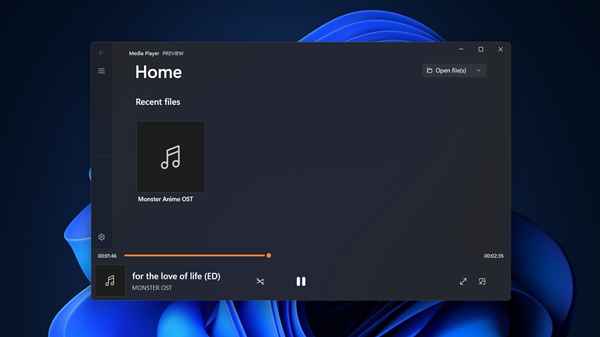
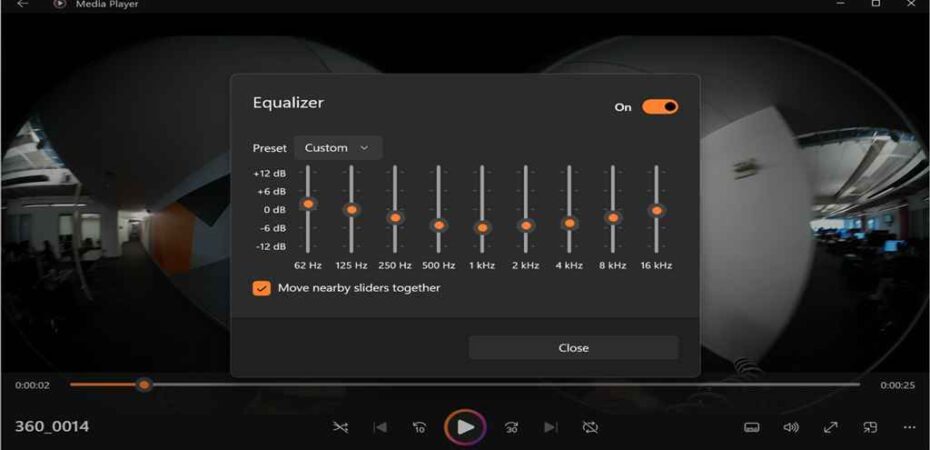
Are you tired of watching movies or listening to music on your Windows Media Player with just stereo sound? If you’re craving a more immersive experience, you’re in luck! In this guide, we’ll walk you through the steps to enable 5.1 surround sound on Windows Media Player 11 so you can enjoy your media in all its glory.
Understanding 5.1 Surround Sound
Before diving into the steps, let’s quickly understand what 5.1 surround sound actually means. The “5.1” refers to the number of channels and subwoofers used in the audio setup. It consists of five main channels: front left, front right, center, surround left, and surround right, along with a subwoofer for low-frequency effects. This setup creates a truly immersive audio experience, making you feel like you’re right in the middle of the action.
Check Your Hardware

First things first, ensure that your hardware supports 5.1 surround sound. You’ll need a sound card capable of outputting audio to multiple channels, as well as speakers that can handle 5.1 audio. Most modern computers come with built-in support for 5.1 surround sound, but it’s always a good idea to double-check.
Configure Windows Sound Settings
Now, let’s configure your Windows sound settings to enable 5.1 surround sound. Here’s how:
- Right-click on the speaker icon in the system tray and select “Sounds”.
- In the Sounds window, navigate to the “Playback” tab.
- Select your audio device from the list and click “Properties”.
- Go to the “Enhancements” tab and check the box next to “Speaker Fill”. This option simulates 5.1 surround sound on stereo speakers.
- Click “OK” to apply the changes.
Enable 5.1 Surround Sound in Windows Media Player
With your Windows sound settings configured, let’s now enable 5.1 surround sound specifically in Windows Media Player 11:
- Open Windows Media Player 11.
- Click on the “Tools” menu and select “Options”.
- In the Options window, go to the “Devices” tab.
- Select your audio device from the list and click “Properties”.
- Navigate to the “Speaker Setup” tab.
- Choose “5.1 Surround” from the dropdown menu.
- Click “Apply” and then “OK” to save the changes.
Test Your Setup
To ensure that 5.1 surround sound is working correctly, it’s a good idea to test your setup with some multichannel audio. You can find 5.1 surround sound test files online or use a multichannel audio movie or music track. Play the file in Windows Media Player 11 and listen for audio coming from all the correct channels.
Conclusion
Congratulations! You’ve successfully enabled 5.1 surround sound on Windows Media Player 11. Now, sit back, relax, and enjoy a truly immersive audio experience with your favorite movies and music. With just a few simple steps, you can take your entertainment to the next level and immerse yourself in stunning 5.1 surround sound. Happy listening!
Read Also
- Who is My ISP? Understanding Your Internet Service Provider Quickly
- 9 Tools Everyone Needs To Stay Safe on the Internet
- Proxy Servers and Internet Privacy – How do they Help to Protect your Online Identity
- How To Stay Safe On The Internet?
- How To Uninstall Internet Explorer Windows 10
- How to Fix ERR_INTERNET_DISCONNECTED
- Internet Speed Test Tool
- Antivirus vs Internet Security

