In the realm of networking and telecommunications, ensuring the integrity of cables is paramount. Faulty cables can lead to disruptions in connectivity, slow data transfer rates, and even complete network failures. To mitigate these issues, professionals rely on tools like cable toners to accurately trace and identify cables within a network infrastructure. In this guide, we will delve into the intricacies of cable toners, exploring what they are, how they work, and the step-by-step process of using them effectively.
Understanding Cable Toners

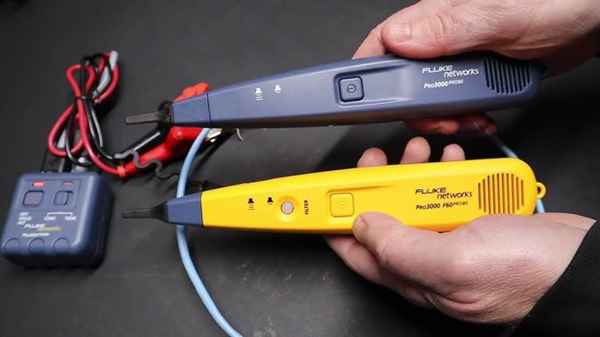
Before diving into the practical aspects of using a cable toner, it’s essential to grasp its basic concept. A cable toner, also known as a wire tracer or line tester, is a device used to identify and trace cables within a network. It consists of two main components: a transmitter and a receiver.
Transmitter
The transmitter, often handheld, emits a signal that travels along the cable being tested. This signal can be transmitted through various methods, such as electrical pulses or radio frequencies, depending on the type of toner.
Receiver
The receiver, equipped with sensors, detects the signal emitted by the transmitter. It helps pinpoint the location of the cable and indicates its path, making it easier for technicians to trace and identify.
Steps to Use a Cable Toner
Now that we have a basic understanding of cable toners, let’s explore how to use them effectively to trace cables within a network.
Step 1: Prepare the Equipment
Ensure you have both the transmitter and receiver components of the cable toner kit. Check that the batteries are properly inserted and fully charged to avoid any interruptions during the tracing process.
Step 2: Connect the Transmitter
Connect the transmitter to one end of the cable you want to trace. Depending on the type of toner, this connection may involve attaching alligator clips, RJ45 connectors, or other adapters suitable for the cable interface.
Step 3: Activate the Transmitter
Turn on the transmitter and select the appropriate signal transmission mode. Some toners offer multiple modes, such as tone or pulse, which can be adjusted based on the environment and cable type.
Step 4: Trace the Cable Path
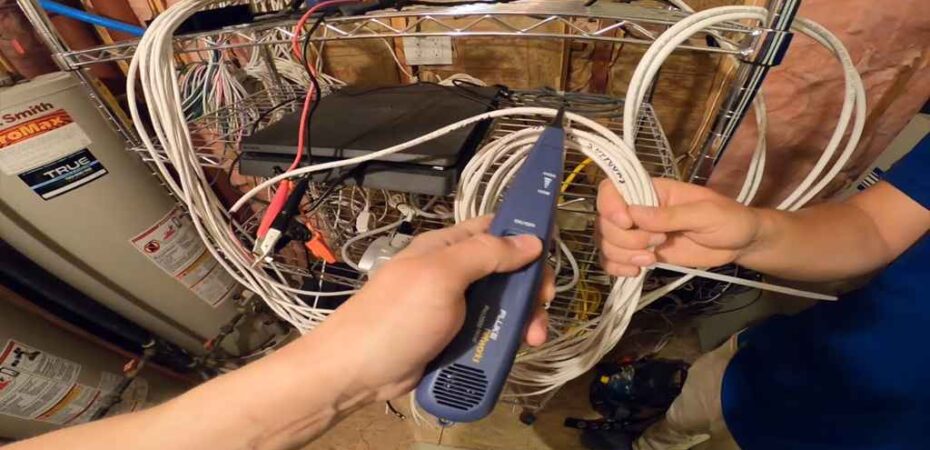
With the transmitter activated, move to the other end of the cable route while holding the receiver. Slowly sweep the receiver along the cable pathway, listening for audible signals or observing visual indicators on the receiver’s display.
Step 5: Identify Cable Endpoints
As you trace the cable, take note of any changes in signal strength or deviations in the cable pathway. These indicate potential endpoints or connections along the route, allowing you to accurately identify the cable’s termination points.
Step 6: Verify and Document
Once you have traced the cable to its endpoints, verify the accuracy of your findings by testing connectivity or visually inspecting the cable labels. Document the cable pathways and any pertinent information for future reference and maintenance.
Conclusion
Mastering the use of a cable toner is essential for network technicians and professionals tasked with managing complex infrastructure. By following the steps outlined in this guide, you can effectively trace and identify cables within a network, ensuring optimal performance and reliability. Remember, proficiency with cable toners comes with practice, so don’t hesitate to experiment and refine your techniques to become a skilled cable tracing expert.
Read Also
- Jaart011: Leading the Charge in Global Innovation and Technology
- Cricket Exceed Login at Cricketshout.exceedlms.com – Cricket Wireless Exceed Login Portal
- Who is My ISP? Understanding Your Internet Service Provider Quickly
- AT&T 5G Vs 5G+: What’s The Difference
- China-Linked Hackers Hit 17 Nations in 3 Years
- Taiwanese Key Sectors Under Attack By China-Linked Flax Typhoon Cyber Espionage
- Interview With Stéphane Nappo
Lucas Brown
Lucas is an IT student completing his studies in Networking. He worked at Ycombinator as a research analyst. He loves to write about his technology experiences. He also enjoys traveling and captures the best moments with his Canon 5d lens. He is a review specialist at Reviewsed.